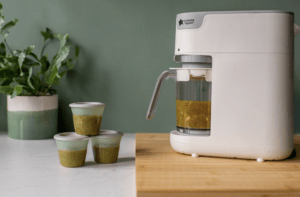
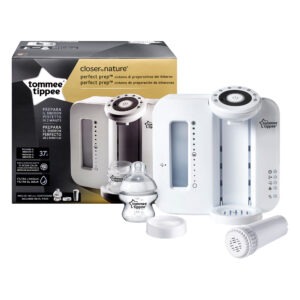
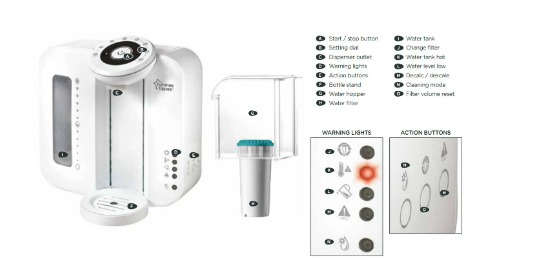
free shipping on purchases over R500

Tommee Tippee Perfect Prep Machine

Thank you for purchasing the Tommee Tippee Perfect Prep™ machine.

This product support page is here to help you learn how to use, clean and care for your machine, and to help with any queries you may have.

  • 1x Perfect Prep™ machine
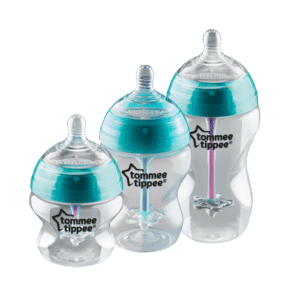
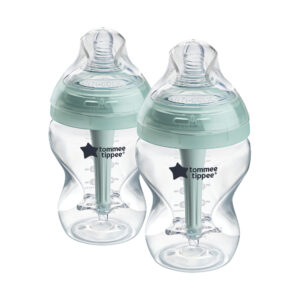
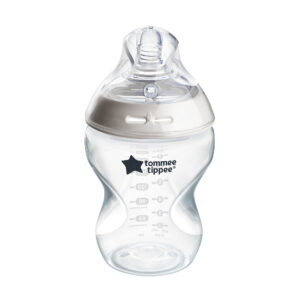
  • 1x 150ml Closer to Nature baby bottle with slow flow teat
  • 1x milk storage lid
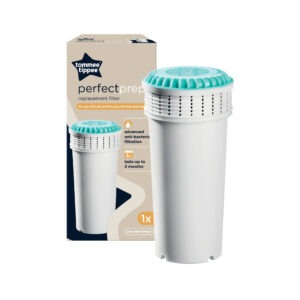
  • 1x anti-bacterial water filter


Before first use you need to run a cleaning cycle – which should take approximately 10 minutes. For hygiene and safety reasons you should clean your unit on a regular basis.

THE FILTER SHOULD NOT BE FITTED PRIOR TO FIRST USE CLEANING.

  1. Plug in the unit. The empty warning light should illuminate.
  2. Pop a container under the dispenser outlet to capture the water used to clean the system (ideally at least 1 litre capacity). The empty warning light should be off. The hot light should be on.
  3. With the water hopper in place (but not the filter) fill the hopper with 1 litre of freshly boiled hot water.
  4. Wait for the water level low warning light to go out. The water tank hot light will illuminate.
  5. Press the cleaning mode button and hold for 2 seconds. The cleaning mode light will illuminate.
  6. Wait whilst the boiled water is emptied from the tank, through the dispenser outlet, into the container that you placed under the outlet in step 1. This can take a few minutes.
  7. Listen out for the beep and the empty warning light should come on. level low warning light will illuminate once the water has flushed through the system.
  8. Discard the water captured in the container and replace the container back under the dispenser outlet.

Now to fit the filter…

Only ever handle the filter by holding it by the blue cap.

  1. Remove the filter from packaging.
  2. Remove the sticker from the top of the filter.
  3. Fill a bowl with cold tap water.
  4. Submerge the filter in water and gently agitate until the bubbles stop.

Your filter is now ready to fit into the water hopper.

  1. Remove the water hopper and fit the filter.
  2. Replace in the water tank. Fill the hopper with COLD WATER.
  3. Wait for the water level low warning light to go out.
  4. Press the start / stop button. A red light will flash.
  5. The appliance will dispense an amount of cold water.
  6. Press the start/stop button. A green light will flash, and water will be dispensed to finish the cycle. The contents should be discarded.
  7. Press the filter volume reset button for 2 seconds to clear the memory. Discard dispensed water. Your machine is now ready to use.

As with any other method of making up a feed for a baby, it’s essential that good hygiene practices are observed when using and maintaining your Perfect Prep™ machine.

It’s very important that your everyday routine includes simple hygiene steps like keeping formula away from the hopper and only ever holding the top of the filter. Ensure that your hands and all surfaces that come in to contact with the machine and its components are clean, and that the unit is away from direct sunlight and heat sources.

You should clean your Perfect Prep™ machine:

  • Before its first use and then on a 4-weekly basis.
  • If your machine hasn’t been used for 1 week.
  • When replacing your filter.
  • After a de-scaling cycle
  1. To clean your Perfect Prep™ machine, follow these instructions:
  2. Remove the lid, hopper and bottle stand and set the filter to one side (top side down).
  3. Clean the external machine surface with a clean cloth (it is advisable to use an antibacterial solution), taking care to clean in all grooves and under the dispenser spout.
  4. At this time the lid, hopper and bottle stand should also be cleaned using hot soapy water, rinsed thoroughly, and allowed to dry naturally (do not use cloths or tea towels to dry).
  5. Plug in the unit, the empty tank warning light will illuminate.

Now choose from the following two cleaning options:

  • Using a cold-water sterilising solution (following manufacturer guidelines for using with 1.8 litres of water), add required amount to the water tank. Fill the tank to the max line with cold water and place a suitable container under the dispenser spout.
  • Pour 1 litre of clear/white (food grade) vinegar into the water tank. Top up the water tank to the max line with freshly boiled water and place a suitable container under the dispenser spout.

PLEASE NOTE: If you are also changing your Tommee Tippee water filter, press the filter reset button for 2 seconds to clear the machine memory before using for a feed.

The perfect Prep™ can detect limescale build up, notifying you when it needs descaling. The descaling process will remove deposits of calcium and other minerals in the system that may affect its performance. A red descale warning light will illuminate when the unit requires descaling soon. If the red light flashes, you should descale immediately.

  1. Remove the filter from the hopper – this is very important.
  2. Fill the water tank with 500ml of distilled white vinegar (4% or 5%).
  3. Place a container under the dispenser outlet.
  4. Press the descale button for 2 seconds and the system will run a descale process. During the descale process the red descale light will continue to flash.
  5. At the end of the descale process an alarm will sound and the descale light will switch off.
  6. Next two cleaning cycles will run.
  7. Place a container under the dispenser outlet.
  8. Fill the tank with 1 litre of boiling hot water.
  9. The tank hot light will switch on.
  10. Press cleaning mode to flush the water through.
  11. The boiling water will empty via the dispenser.
  12. Once finished, ‘tank empty’ will light up.
  13. We suggest repeating the cleaning cycle twice.
  14. Once done, replace the filter and add cold water into the hopper.

Remember after any cleaning your Perfect Prep™ machine will dispense 2 cold water shots when you make the first bottle. Discard these and you’re good to go.

Your Perfect Prep™ machine needs a filter to work correctly. Replacement filters are available from the Tommee Tippee website, please follow this link to purchase.

  1. A red change filter warning light will illuminate when the filter needs replacing soon (approx. 30 litres remaining). IF THIS LIGHT FLASHES, THE FILTER MUST BE CHANGED IMMEDIATELY.
  2. Place a container under the dispenser outlet.
  3. Press the cleaning mode button and hold for 2 seconds. The water will then drain out.
  4. Press the ‘volume reset’ button for 2 seconds – this clears the memory.
  5. Remove the container and take out the hopper.
  6. Remove the old filter.
  7. Place the hopper back in, without the filter.
  8. Start a set up and clean cycle.
  9. Fit your new filter and you’re all set.

Remember after any cleaning your Perfect Prep™ machine will dispense 2 cold water shots when you make the first bottle. Discard these and you’re good to go.

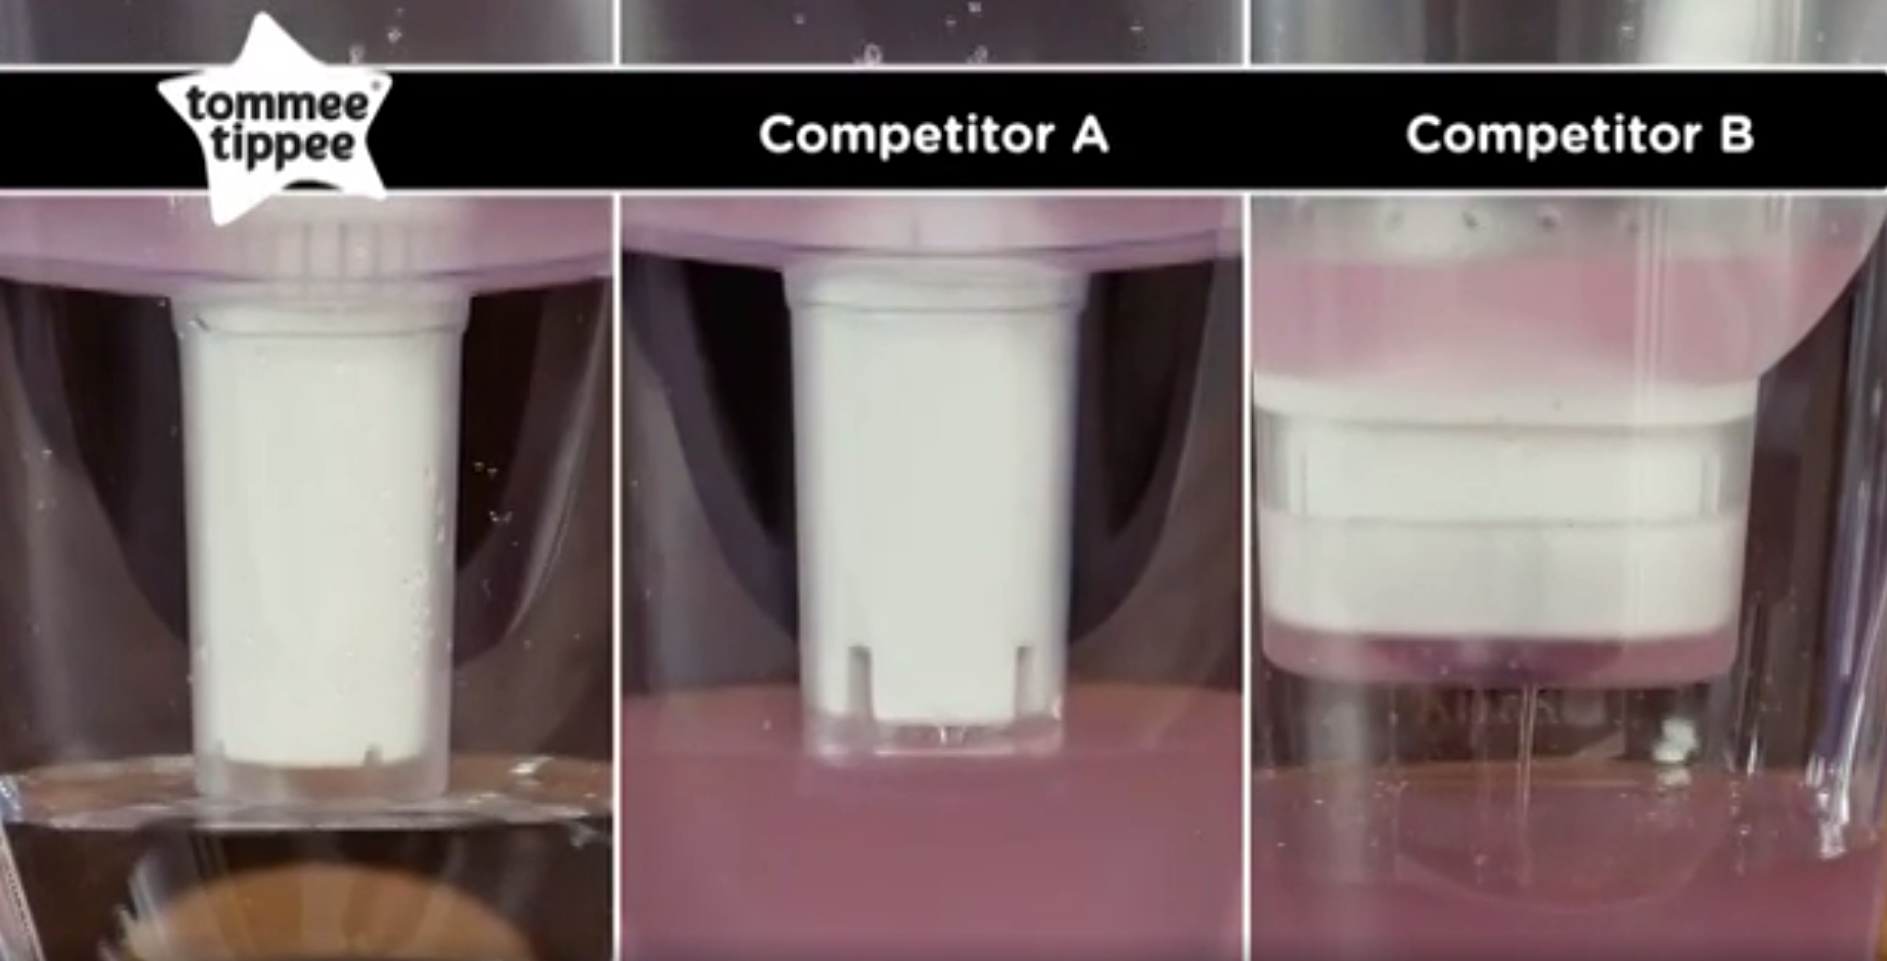
WARNING: Do not use other brands of filter in your machine. Even if they fit, they may not remove the same level of bacteria. Using this machine without a Tommee Tippee water filter could put your child’s health at risk.

PRODUCT MANUALS

Please click on the link below and download the Tommee Tippee Perfect Prep Machine Product Manual.

Download PDF
Scroll to Top